How to Reduce Image File Size Without Visible Quality Loss
Big images slow down emails, forms and websites. Here is a routine that makes them small and keeps them sharp.
By DocConvertPRO Editorial Team3 min read
A single photo from a modern phone can be several megabytes. That is far more than a form, email or website needs. Reducing image size makes uploads faster, saves storage and helps web pages load quickly. The trick is to reduce size without making the picture look bad.
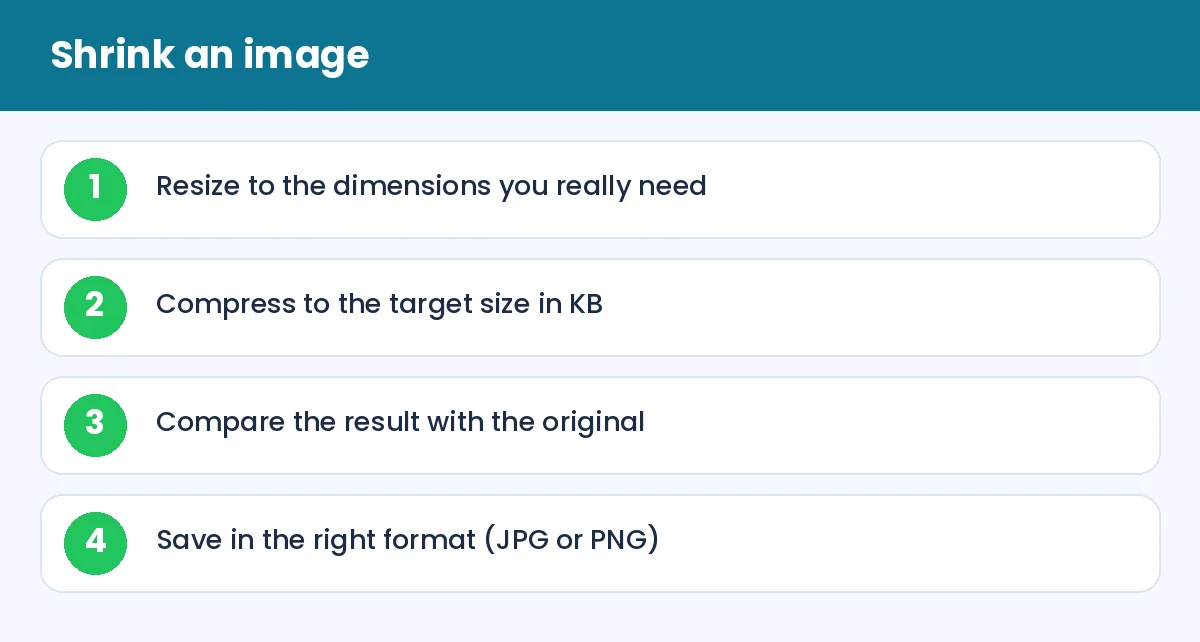
How to Reduce Image File Size Without Visible Quality Loss: Shrink an image (infographic)
The two levers: dimensions and compression
Dimensions are the width and height in pixels. A 4000 × 3000 pixel photo shown in a space 800 pixels wide is wasting most of its data. Resize it first with Resize image.
Compression reduces the file size by simplifying detail you are unlikely to notice. Use a tool such as Compress image to 200 KB or pick another target like 100 KB, 50 KB or 1 MB.
Do them in that order, resize then compress, for the best quality.
Pick the right format
JPG is best for photographs and gives small files.
PNG is best for screenshots, logos and graphics with sharp edges or transparency.
WebP is a modern format that is smaller for the same quality, popular for websites, but not accepted everywhere.
If a form requires JPG and you have a PNG or HEIC, convert first. Our guide on PDF to JPG vs PNG explains the differences in more depth.
How small is small enough?
Government exam forms: often 20 to 100 KB.
Email attachments: aim for under 1 MB per image.
Website photos: usually 100 to 300 KB.
Social media: the platform recompresses anyway, but uploading a reasonable size avoids extra loss.
What goes wrong
Compressing again and again. Each pass loses detail. Always work from the original.
Shrinking text screenshots too hard. Text edges become fuzzy. Keep PNG for text, and reduce dimensions rather than quality.
Ignoring the display size. Uploading a giant image only to show it small is the most common web mistake.
Check the result
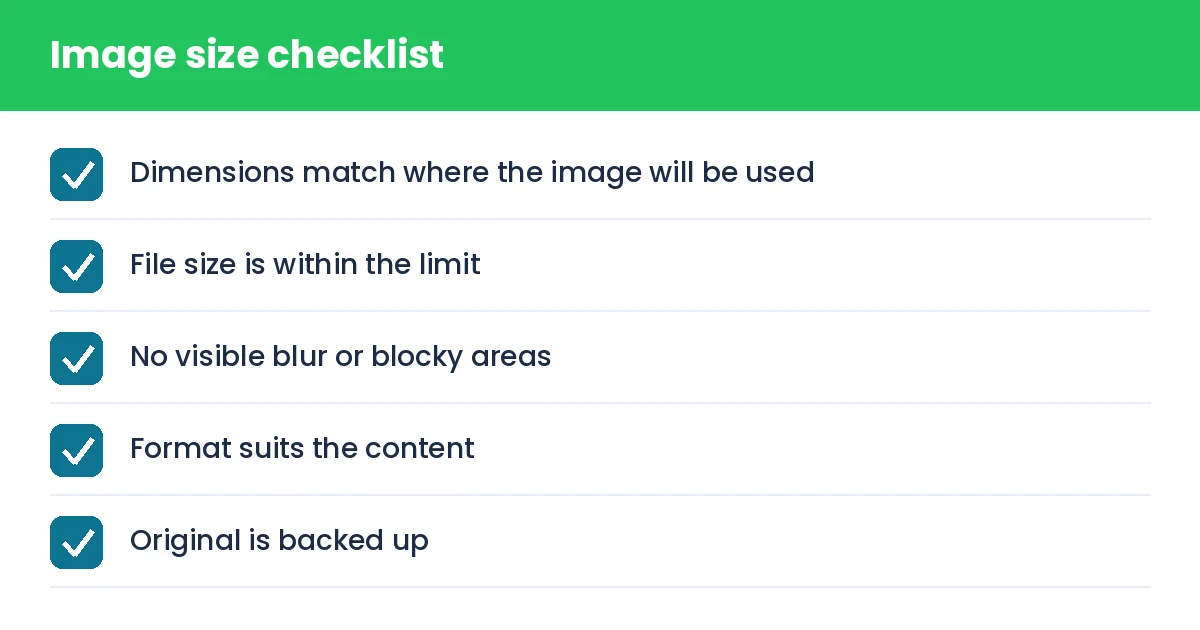
Open the original and the compressed image side by side at 100% zoom. If you cannot see a difference at normal viewing size, the compression is fine. If you notice blocky patches or halos, use a slightly larger target size.
Tip: for exam forms with both a pixel size and a KB range, follow the order: crop, resize, then compress, and check the KB size at the end.
How to Reduce Image File Size Without Visible Quality Loss: Image size checklist (checklist)
Summary
Resize first, compress second, choose the right format and keep the original. That simple routine solves nearly every upload size error.